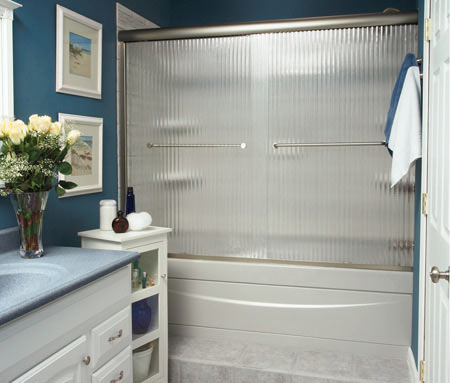
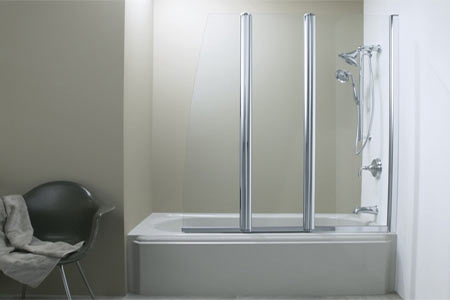
HOME DZINE Bathrooms | How to install a shower door

How to install a shower door
You will need:
Pivot shower door kit
Impact drill, masonry and HSS drill bits
Tape measure and pencil
1 metre spirit level
Metal file
Rubber Mallet and hammer
Nail punch
Silicone sealer
fischer Wall plugs
Stainless steel pan-head screws (if not supplied)
Here's how:
1. Cut the base track to length
Measure the length of the shower threshold, then use a hacksaw to cut the aluminum base track to fit tightly between the previously built stall walls. Smooth the cut end with a file. Vacuum up the metal filings immediately so they don’t scratch the bathroom floor or shower base.
2. Set the base track
Place the track on the threshold and use a tape measure to make sure that it’s centred from front to back. With a pencil, mark the threshold along the edge of the track near each end. This allows easy repositioning if it slides around during installation of the jambs.
3. Mark position of the hinge-side jamb
On the side of the shower opening that will support the door, hold a jamb piece against the wall so that its lower end fits into the base track. Without moving the track, use a spirit level to adjust the jamb until it’s plumb. Stick a pencil through the jamb’s screw holes to mark the wall. Remove the jamb, and at each pencil mark make a small divot using a hammer and nail set. (This tool chips the tile glaze enough to prevent the drill bit from slipping.)
4. Drill holes for wall anchors
Drill holes at each mark using a masonry drill bit that matches the size of the wall plugs and screws. Tap a plastic wall anchor into each screw hole. Use a rubber mallet to avoid marring the walls. Hold the jamb against the wall so its screw holes align with the plastic anchors. Drive stainless steel pan-head screw into each hole.
5. Hang the door
Lift the door with its attached hinge rail positioned to swing out, and slip the hinge rail into the jamb. Hold the door in place and check its strike-side edge with a level to make sure it’s plumb. If it’s not, pull the hinge rail out of the jamb slightly at the top or bottom. Once the door is plumb, the hinge rail should still be engaged in the jamb. While a helper holds the door in place, drill four pilot holes to the size of the screws through the holes in the hinge rail and into the mounted jamb. Fasten the hinge rail to the jamb with the stainless steel pan-head screws, which should be provided.
6. Install the remaining side jamb
If there is no glass side panel, slip the magnetic strike rail onto the remaining side jamb. Holding the rail and jamb, close the door until it lines up with the base track. Adjust the jamb until it’s flush against the wall. Mark the wall alongside the jamb. Remove the jamb from the rail. Align the jamb with the pencil line and mark screw hole locations. Drill the holes for the plastic wall plugs. Screw the jamb to the wall.
To install a glass side panel, slip the remaining jamb onto one of the panel edges and the magnetic strike rail onto the other. Fit the panel into the base track. Butt the jamb against the wall. Close the door and mark the wall along the jamb. Remove the jamb and the magnetic rail from the panel and attach the jamb. Slide the panel back into its jamb and base track.
7. Set the header
If a header is being used, measure and cut to length as in Step 1. Slip it over the top of the hinge jamb and side panel. Drill a pilot hole that matches the screw size through the inside face of the header at each end and into the corresponding jamb. Drive a screw into each hole. Replace the magnetic strike rail on the strike jamb or, if used, on the edge of the stationary panel. Adjust it so that the magnetic strips on the door and rail produce a watertight seal along their entire length when the door is closed. Screw the strike rail into the holes of the strike jamb or stationary panel with the screws.
8. Screw together the frame
Install the door handles that come with the kit. Align the outside door handle with the holes in the doorframe. Attach the interior handle and tighten the set screws. Stabilize the assembly by drilling a pilot hole and driving a screw through the outside face of the base track wherever it meets a vertical frame member. Repeat the process on the inside face of the header. Centre the screws on the aluminum extrusions to avoid hitting the glass.
9. Attach drip rail - if supplied
Pull the thin vinyl sweep out of the drip rail and set it aside. Cut the drip rail with a hacksaw to match the width of the door. Round off the ends of the cut with a file. Slide the vinyl sweep back into the groove in the rail. Crimp the ends of the groove closed with pliers to hold the sweep permanently in place. Trim off its overhanging end with a Stanley knife. With the vinyl sweep pointing down, hold the drip rail against the inside bottom edge of the door. Drill pilot holes into the doorframe through the elongated mounting holes and low enough to avoid hitting the glass. Attach it with the screws. Before tightening the screws, tilt the rail down slightly toward the hinge side so that water will drain away from the strike.
10. Apply silicone sealer
To make the new shower enclosure totally waterproof, apply a bead of clear, mildew-resistant silicone along both the inside and outside edges of the base track. Also, apply silicone along the inside edges of both the right- and left-side jambs. Smooth out the silicone immediately after applying it to create a neat, even joint.
back to top


Komentar
Posting Komentar