Plumbing 101: Replacing Delta Jetted Shower Trim
Hey, what’s it called again when you buy a bigass house with three full bathrooms and none of them contain a working shower? Oh, right. Irony.
That was the story of my life for the first two weeks I owned the Liberty house, and it was mostly due to the fact that the house hadn’t been winterized properly. None of this, by the way, was the fault of the previous owner. In fact, other than some questionable layout decisions in the master bathroom (which you can see photos of here, or with a video impression of just how awkward that toilet placement is here), all of the work the previous owner is exactly the type of work I would do myself. Which is to say some of it was pretty high-end, and a lot of it was half-finished.
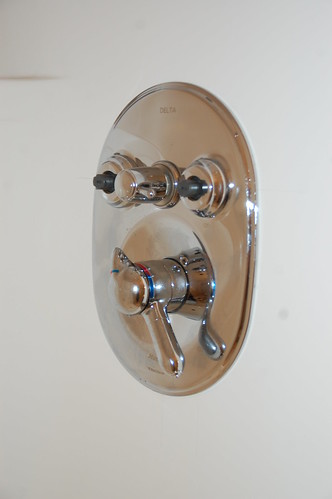
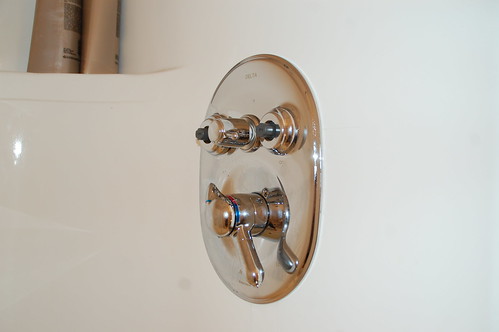
On the high-end side we have this jetted shower from Delta faucets, which isn’t exactly a cheap throw-er-on-there kind of fixture.
When I turned the water on in the house and this thing did it’s best impression of a car wash possessed by demons, my heart sank a little… I figured replacing this trim was probably beyond me, but I was determined to give it a shot anyway.
I started by turning the water off at the supply lines and then worrying at the different parts of the trim to get it to come apart. I figured this was installed at least 6-7 years ago, so crossed my fingers when I ordered the replacement trim that it would still be compatible with the rough valve.
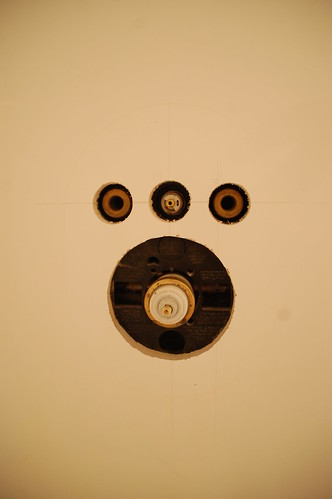
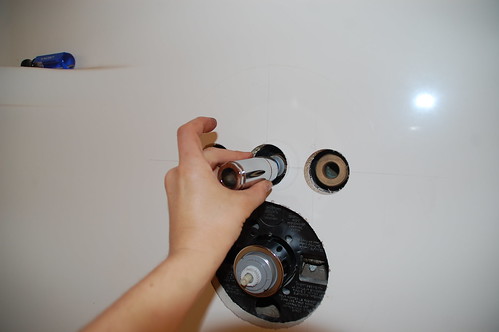
Here’s what it looked like once I got everything off…
And the rather intimidating pile of parts I had to work with…

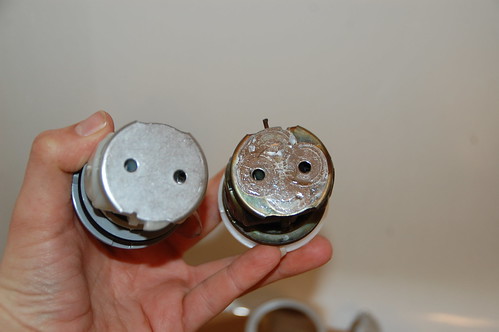
I started with an open mind and the instruction booklet in hand, which is good because the first thing I attempted was to replace the adapter assembly in the back of the valve…

And as it turns out this part was not compatible with my older valve. However the old gaskets didn’t appear to be rotted and I held them up to the new ones and there was no discernible difference in size or shape, so I decided to put the old ones back in and see how it would work. The new cartridge seemed to have the same hole placement as well, so I felt pretty confident this would work.
My confidence waned when I tried to install the new cartridge and found that the “key” on the new cartridge was a different shape from the old one (and there were two instead of one).
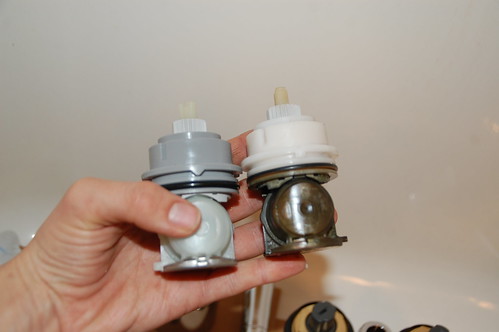
The new had the triangle shaped notch and the old was square. Luckily it was a plastic piece and so I just made a few slight “modifications” with my utility knife.
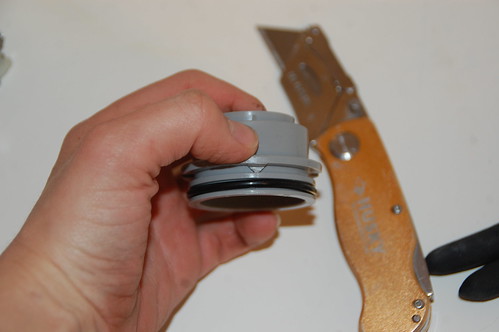
And check it out… totally fits!
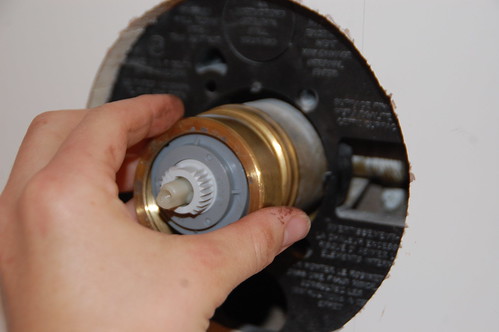
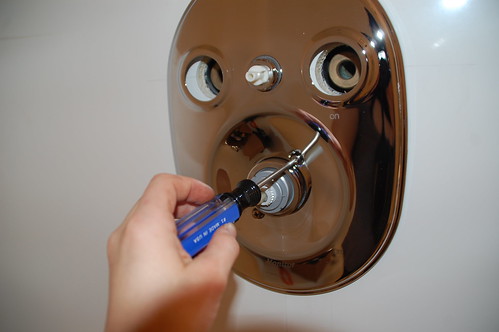
The cartridge is held in place by the bonnet nut, which is what I’m screwing on in the image above. Then the large o-ring…
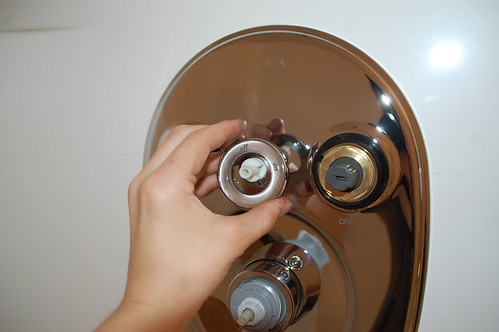
And shiny new sleeve…
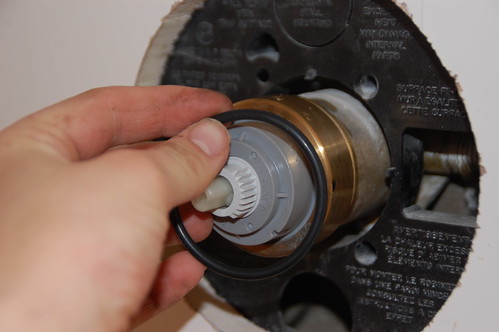
Then the piece I’m pretty sure is called a “stem extender”, which is basically the guts of the on/off switch for the jets, and fit nicely without any utility knife adjustments.

And the sleeve for that as well…
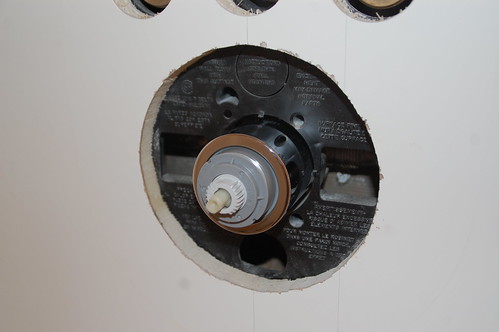
Then the new face plate, which I’m also pretty sure is called an “escutcheon”, but since I can’t pronounce that word and would feel like and idiot saying it even if I could, we’re going to go with face plate on this website.
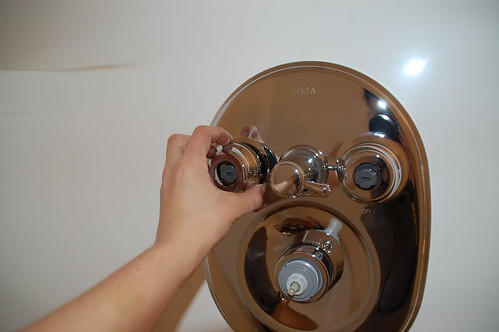
The jets simply screwed into the valve after the face plate was on…

And then– the five year old in me rejoices– stickers!
And the actual handle/switch for the jets, which is held in place with a small set-screw.

The final bonnet assemblies just screw on to finish off the jets…
And the last thing was to install the “volume control handle.” I’m just going to admit that this was the first time in the process I made my WTF face at the instruction book. There is a whole lot of stuff in there about the temperature control knob and testing the water with a thermometer, and frankly, I just stuck the damn thing on and called it a day. Personally I don’t feel quite right if I haven’t scalded at least two layers of skin off when I shower anyway, so I wasn’t so worried about it.
The exciting thing was…
It worked!
Despite a little MacGyvering, I have a fully functional shower, without any leaks, drips, or fountains shooting out from behind the trim.
Now, you may be wondering how the jetted shower itself works, because you know I tried that thing out almost immediately after getting the water running. So here’s the thing… I’m what you might call “vertically challenged.” I’m 5’2″ on a good day, and this trim is positioned perfectly for someone who is a foot taller than me. I love the idea of the jetted shower, but in practice it pretty much get a facefull of water whenever I turn it on.
However, this shower is located in what will definitely be a guest bathroom on the first floor so I fully expect it to make the day of any taller people who stay over at my house, and that’s good enough for me. It’s possible that I’ll put something similar to this in my master bath as well, it will just be positioned a little more strategically for us smaller people.


Komentar
Posting Komentar